Weapons are easy to change or add in this kit. They are made up of three parts:
- The weapon model
- The weapon data
- The weapon pickup
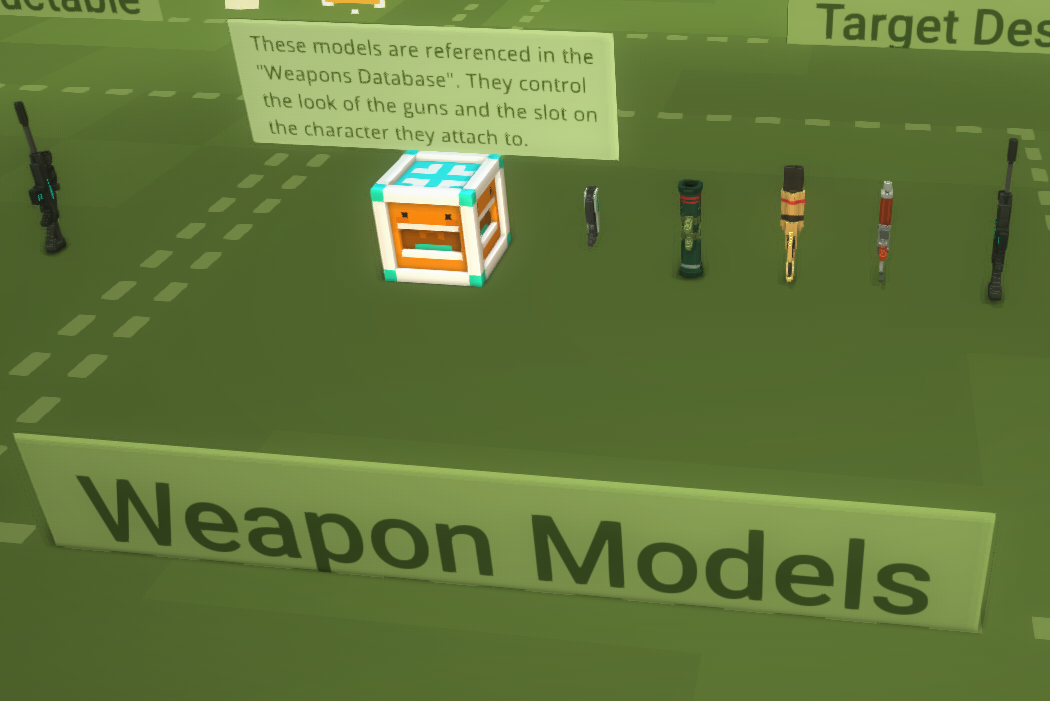
The weapon model is the visual appearance of the weapon as well as a script that defines what slot it attaches to on the player when they pick it up.
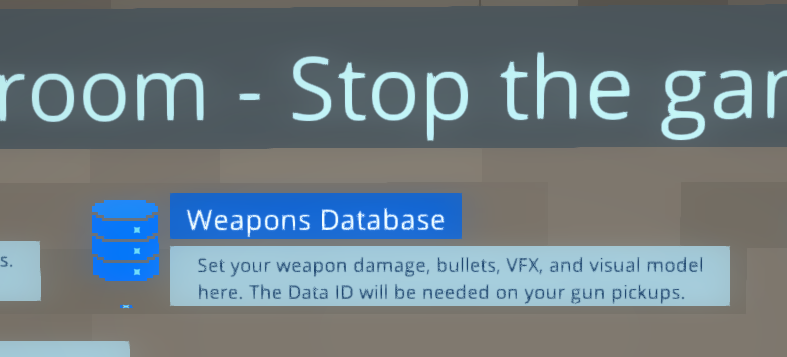
The weapon data holds all of the settings for the weapon as well as a unique Data Id that is used in the pickup.
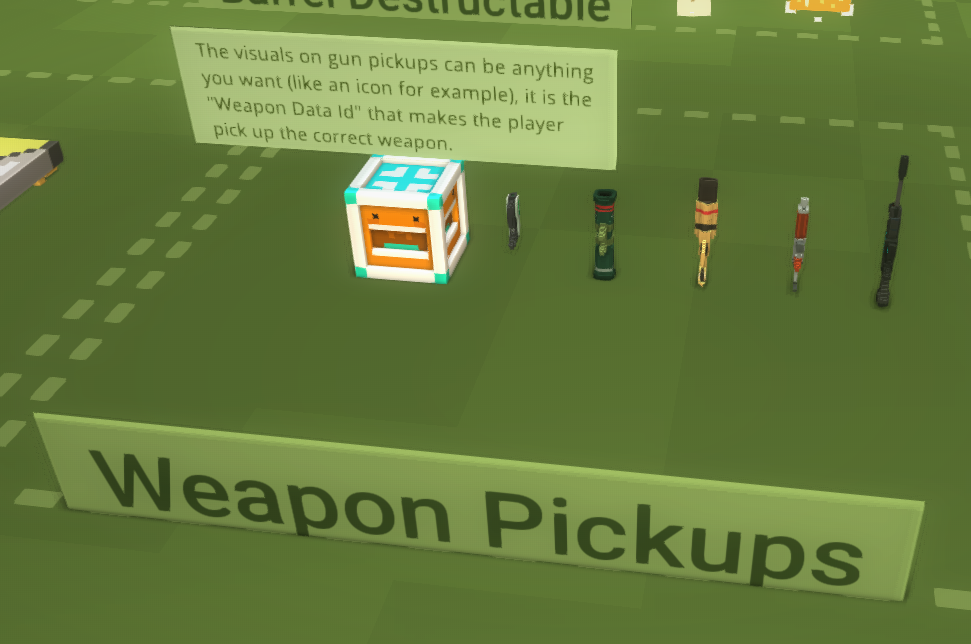
The weapon pickup is the object you place into the level. When a player walks over it they equip the weapon based on the Weapon Data Id set on the pickup.
Creating A New Weapon
The first thing you need to do is come up with a weapon concept and draw it in the Voxel Object Editor.
Make sure it is positioned like the weapon in the image below. The + icon on the bottom plane should be aligned with the grip so it appears in the player’s hand correctly.

Next you should locate the weapon models in the Work Room and duplicate one of them to use for your new weapon.
On your duplicate you should do the following:
- Open the "Entity" section and click "Unlink From Template"
- Rename the Entity to whatever your weapon name is
- Open the "Voxel Object" section and change it to your new Voxel Object
- If needed you can open the
dbb_link_object_to_slotscript and change the offset or slot as needed to position the weapon in the players hand - Back in the "Entity" section click "New Template", give it a template name, and click "Save"
Now you need to get some weapon data set up. Find the "Weapon Database" object in the Work Room and select it.
You will see several "FPS - Weapon Data" scripts on this object. Add a new one or copy one and paste it as new.
- Set the Data Id to a unique value for your weapon
- Change the other properties to set up how your weapon should behave (See more details on these properties in the "Weapon Data" section.
Finally you need to create a "Pickup" for your weapon. This is an object placed in the game that a player can walk over to equip your weapon.
Head over to the Work Room and find the "Weapon Pickups" area and duplicate one of them.
On the duplicate you will need to do the following:
- Open the "Voxel Object" section and switch it to your weapon art
- Open the "FPS - Weapon Pickup" script and set the Weapon Data Id to the unique Data Id you used in your Weapon Data
- You can optionally change any other settings here
This pickup can now be placed into the map and you have a new weapon!
Weapon Data
The Weapon Data defines how a weapon behaves and how it affects the players and world. Let’s step over each property and explore them in detail.
Data Id
- This is the weapon identifier. It is used by the FPS - Weapon Pickup script to associate this Weapon Data to the pickup. Programmers are also able to write other scripts that can access this data by using the Data Id.
Display Name
- The Display Name appears in any UI that mentions the weapon. In the FPS Kit this is the Kill Feed UI. Each time a player is killed a message will appear that looks like "player1 plinked player2 with the pistol". The word "pistol" is the Display Name.
Weapon Verb
- Just like the Display Name above, this is used in messaging. The word "plinked" in the above message is the Weapon Verb for the Pistol.
Description
- This is not used in the FPS Kit, but could be used by a programmer in a new feature like a loadout screen.
Tags
- These are not used in the FPS Kit, but can be used by a programmer to get all data that share a tag. This could be used to build new features that involve a list of weapons.
Icon
- This is not used in the FPS Kit, but could be used by a programmer to add a weapon icon to the screen.
Is Default
- If this is true, this weapon will be equipped when a new round starts or the player dies depending on other configurations. Only one Weapon Data should have this checked.
Reticle
- This is a centered voxel object that gets placed onto the center of the screen. When making your own it is recommended to remix an existing one so you start with something built at the right size and position.
Reticle Scale
- The Reticle can be made bigger or smaller with this value.
Model
- The model will be added to the game when the player equips this weapon. This needs to be a template with the weapon voxel object and a
dbb_link_object_to_slot script. It is recommended to duplicate an existing weapon model and adjust it to make sure you have everything set up correctly.
Damage
- This is the base amount of damage that each bullet can do to an object or player. This value will be affected by Burst Count and Falloff.
Burst Count
- Some weapons, like shotguns, fire several projectiles at once. This setting can be used to replicate that behavior. Damage will be divided between each separate projectile and they will move in directions based on the Spread H and Spread V settings.
Hit Impulse
- If this is greater than 0 a hit target will be pushed back with this force. This only works on targets that can move.
Recoil
- Recoil causes your view to jump up and gradually settle when the weapon is fired. Bigger numbers result in larger jumps.
Range
- The distance bullets from this weapon travel before stopping. This number is used along with Falloff to determine damage done to hit targets.
Falloff
- How quickly the damage will reduce as the bullet approaches its maximum range.
Spread H
- The number of degrees the bullet direction could be horizontally.
Spread V
- The number of degrees the bullet direction could be vertically.
Cooldown
- The number of seconds between shots.
Mag Size
- The number of bullets that can be fired before needing to reload.
Reload Time
- The number of seconds it takes to reload.
Bullet
- An optional template to spawn and use as a projectile. If this isn’t set the weapon will use a hit-scan approach. This is useful for things like rockets.
Fire Sound
- An optional sound effect that can be triggered each time a bullet is fired.
Camera Flash Intensity
- The intensity of the flash effect on the camera each time this weapon is fired. This helps add impact to firing a weapon.
Trail Color
- The color of the trail that appears behind a fired round.
Trail Radius
- The thickness of the bullet trail.
Trail Lifetime
- The number of seconds the bullet trail lasts.
Fx Hit
- A Template that gets spawned at the location of a hit. This is aligned perpendicular to the shot direction.
Fx Hit Decal
- A Template that gets spawned at the location of a hit. This is aligned to the surface of the hit object.
Fx Muzzle Flash
- A Template that gets spawned at the end of the barrel each time a bullet is fired.
Parent Muzzle Flash Fx
- If true, the muzzle flash effects will be parented to the barrel and follow its movement. Otherwise they will stay in the world where they appear.
Networked Hit Template
- A networked Template that gets spawned at the location of a hit. This is aligned to the surface of the hit object. Useful for spawning more complex objects like NPCs.
Align Networked Hit Template
- Determines how the Networked Hit Template is aligned.
- None: The template will be spawned with its default rotation
- Surface: The template will be aligned to the surface of the hit object
- Perpendicular: The template will be aligned perpendicular to the shot direction
Damages Tags
- This weapon will only damage other entities if they have one of these tags. You can also leave this blank to have the weapon damage any valid target.
Barrel Offset
- The position relative to the player's hand that the projectile and Muzzle Flash Fx will spawn at when the weapon is fired.